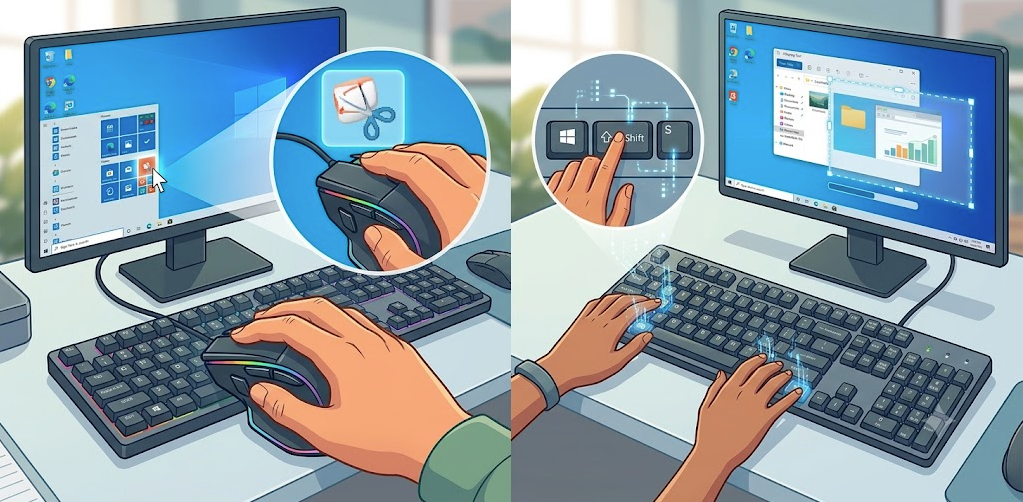
Every Windows user hits the same wall eventually. You need to save exactly what’s on your screen, and suddenly you’re not sure which key does what. Print Screen, Snipping Tool, Game Bar — Windows offers more screenshot options than most people ever use.
The good news is that none of these methods are complicated once you know where to look. Each one fits a different job. Some grab a quick error message. Others capture a clean, annotated image for a report.
This guide covers how to take screenshots on Windows using every built-in method. It also covers what to do when your usual shortcut suddenly stops working.
How to Take Screenshots on Windows With the Print Screen Key
The Print Screen key, labeled PrtScn on most keyboards, is the oldest and simplest way to capture your screen. Press it once, and Windows copies the entire display to your clipboard. Nothing saves automatically. You’ll need to paste that image somewhere, like Paint, Word, or an email, using Ctrl+V.
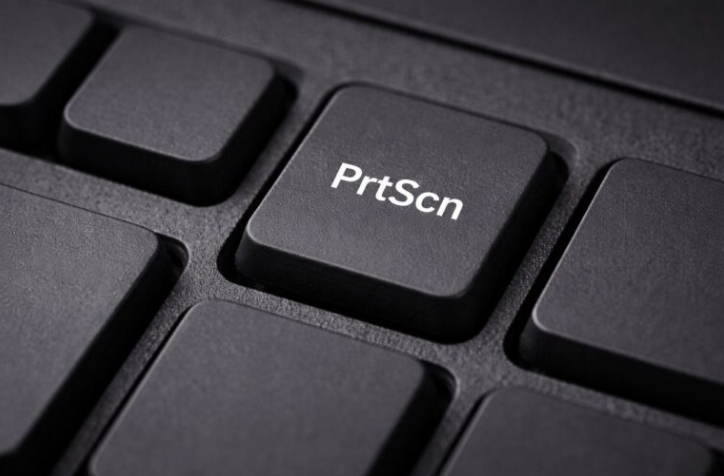
On many laptops, PrtScn shares a key with another function. If pressing it alone does nothing, try holding the Fn key at the same time.
How to Take Screenshots on Windows Using Alt + Print Screen
Instead of the whole screen, Alt+PrtScn captures only the window currently in focus. This is the fastest way to grab a single app or dialog box. You skip the extra step of cropping out desktop clutter afterward. Like the plain Print Screen shortcut, the image goes straight to your clipboard.
How to Take Screenshots on Windows Using Windows + Print Screen
Add the Windows key to the mix, and Windows saves a full-screen image automatically instead of just copying it. Your screen dims briefly to confirm the capture.
The file lands in Pictures > Screenshots as a numbered PNG. This shortcut is the quickest option when you’re capturing several screens in a row. You won’t need to paste each one manually.
How to Take Screenshots on Windows With the Snipping Tool
For more control, the Snipping Tool is the built-in app most Windows users should default to. It replaced the older Snip & Sketch interface and now handles both screenshots and simple screen recordings in one place.
How to Take Screenshots on Windows Using Win + Shift + S
Press Windows+Shift+S, and your screen dims while a small toolbar appears at the top. From there, you can choose a rectangular snip, a freeform shape, a specific window, or the full screen.
Once you capture your selection, it’s copied to your clipboard. A notification pops up in the corner so you can open it for editing.
How to Take Screenshots on Windows With Delay and Annotation Tools
Open the Snipping Tool directly from the Start menu, and you’ll find extra options the quick shortcut doesn’t show. One useful example is a capture delay timer for menus that disappear when you click away.
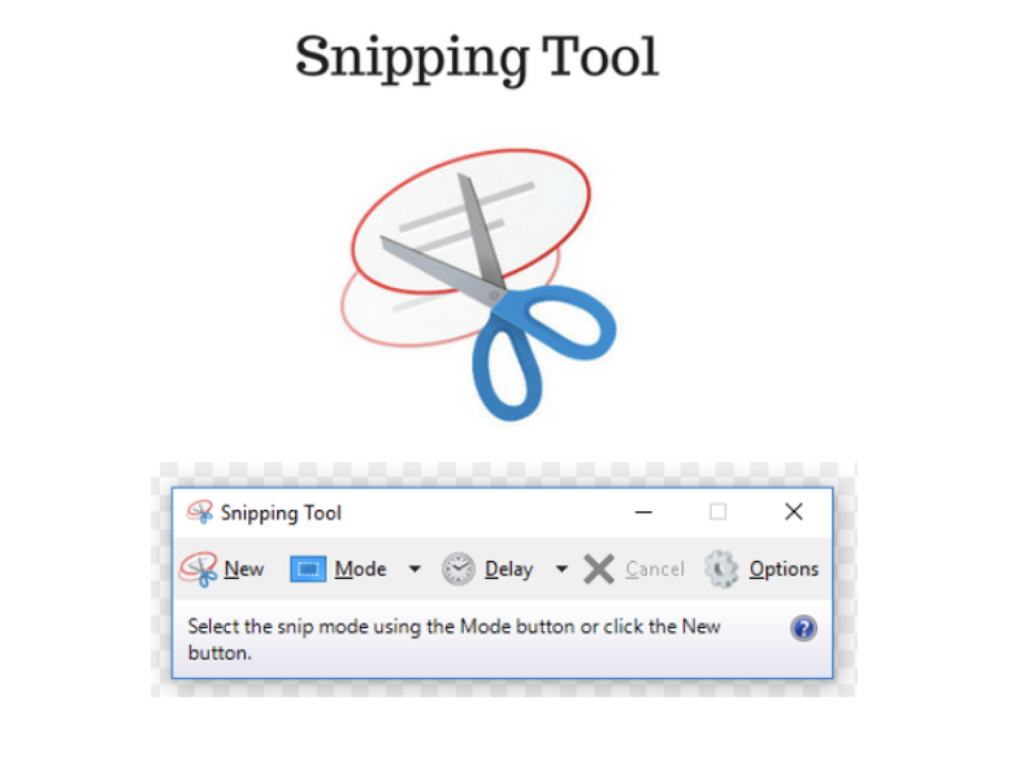
After capturing, built-in pen, highlighter, and eraser tools let you mark up the image. Save the result as PNG, JPEG, or GIF.
How to Take Screenshots on Windows Using the Xbox Game Bar
Standard screenshot tools sometimes fail to capture full-screen games running in exclusive mode. That’s where the Xbox Game Bar comes in, since it’s built to work with games specifically.
How to Take Screenshots on Windows While Gaming
Press Windows+G to open the Game Bar overlay. Click the camera icon to capture the screen without pausing your game. Screenshots taken this way save automatically to Videos > Captures instead of the usual Pictures folder.
How to Take Screenshots on Windows Without a Print Screen Key
If your keyboard is missing a dedicated Print Screen key entirely, Windows+Alt+PrtScn still works as long as your system recognizes the combination. The Game Bar’s on-screen camera button works too, regardless of your physical keyboard layout.
How to Take Screenshots on Windows on a Surface or Tablet
Touchscreen devices and tablets don’t always have a full keyboard nearby. Windows includes button-based shortcuts built for that scenario.
How to Take Screenshots on Windows Using Power and Volume Up
On most Windows tablets and Surface devices, pressing the Power button and Volume Up button at the same time captures the screen. It saves automatically to Pictures > Screenshots, just like Windows+PrtScn does on a laptop.
How to Take Screenshots on Windows With a Stylus or Pen Button
Many Surface Pens let you double-click the top button to launch a screenshot or note-taking tool immediately. The exact result depends on how your device settings are configured. It’s a fast option if you’re already sketching or annotating with a pen in hand.
Where Windows Saves Your Screenshots Automatically
Not every method saves a file, so it helps to know the difference. Print Screen and Alt+PrtScn only copy to your clipboard. Windows+PrtScn, the Game Bar, and the tablet button combo save PNG files automatically.
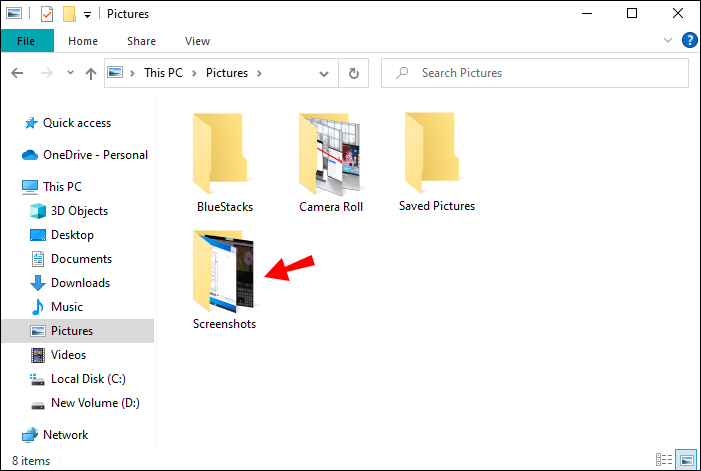
Look in Pictures > Screenshots or Videos > Captures. The Snipping Tool copies to your clipboard by default. You can save the file manually from its editor window, or set it to save automatically in the app’s settings.
How to Take Screenshots on Windows When Print Screen Isn’t Working
If your usual shortcut suddenly stops responding, a few quick checks usually solve it.
- First, confirm you’re holding Fn if your laptop requires it.
- Second, try Windows+Shift+S instead, since it works independently of the Print Screen key on some keyboards.
- Third, check your clipboard history with Windows+V, because the image might have copied even though nothing visibly happened.
- Finally, restarting Windows Explorer or updating your keyboard drivers clears up most lingering glitches.
How to Take Screenshots on Windows Like a Pro: Final Tips
Once you’ve tried each method, you’ll naturally gravitate toward one or two favorites. Windows+Shift+S covers most everyday needs. Windows+PrtScn is hard to beat when you’re capturing several screens back to back.
Keep the Xbox Game Bar in your back pocket for anything running in full-screen exclusive mode. Remember the Power + Volume Up combo, too, if you ever pick up a Windows tablet without a keyboard attached.
If you switch between a Windows PC and a Mac, the shortcuts don’t carry over. Our Mac screenshot guide walks through Command-Shift-3, 4, and 5, so you’re covered no matter which machine you’re using.